Post
Salesforce “How To” ABCs: V
Posted on June 11, 2024 (Last modified on January 16, 2026) • 3 min read • 455 wordsHow to View Field-Level History.
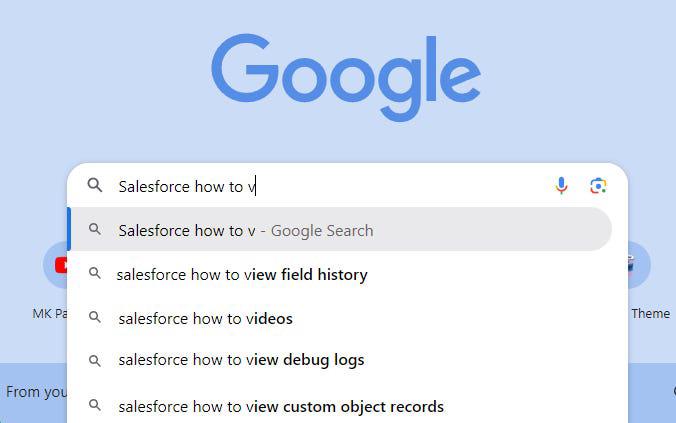
The days of Spring are streeeetching into hot Summer days and the AC is already straining to keep up! Dreamforce tickets are officially for sale today, Dreamin’ in Color is next week, and the Salesforce community calendar just keeps adding events! With so many activities to hit, it’s not surprising for busy admins to have to Google things they “swear they knew how to do a few motnhs ago” — which makes this the perfect time for our next installment of the Salesforce “How to ABCs”! The series where we tackle the most commonly Googled Salesforce questions, letter by letter, to help Trailblazers find the answers they’re looking for fast! Today’s letter is “V” as in, “Salesforce How to View Field History”.
Let’s Begin!
Why Do Changes Need To Be Tracked?
Within Salesforce viewing and displaying changes made to an org are crucial to its maintenance. From audit trails, decision-making, misunderstandings, building trust, and meeting compliance protocols having a history of changes helps you go back and identify what was changed, by whom, and when. Let’s break down the steps necessary to set, view, and display a history for Salesforce fields.
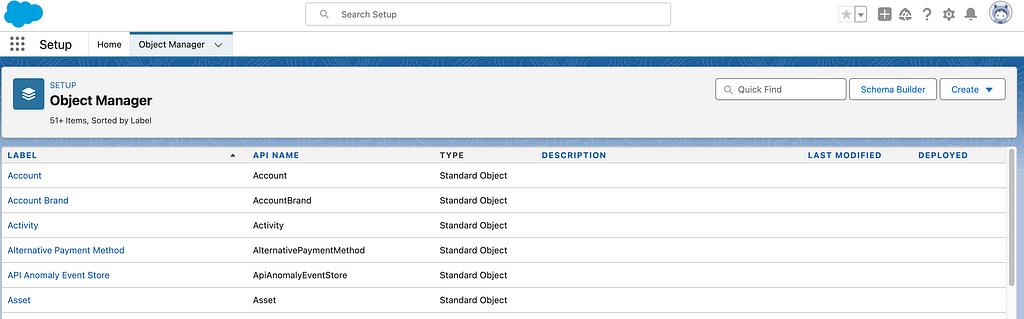
Locate The Object You Need to Track Fields
First, you’ll need to head over to Object Manager and locate the Object for which you plan to set, view, or display field history.
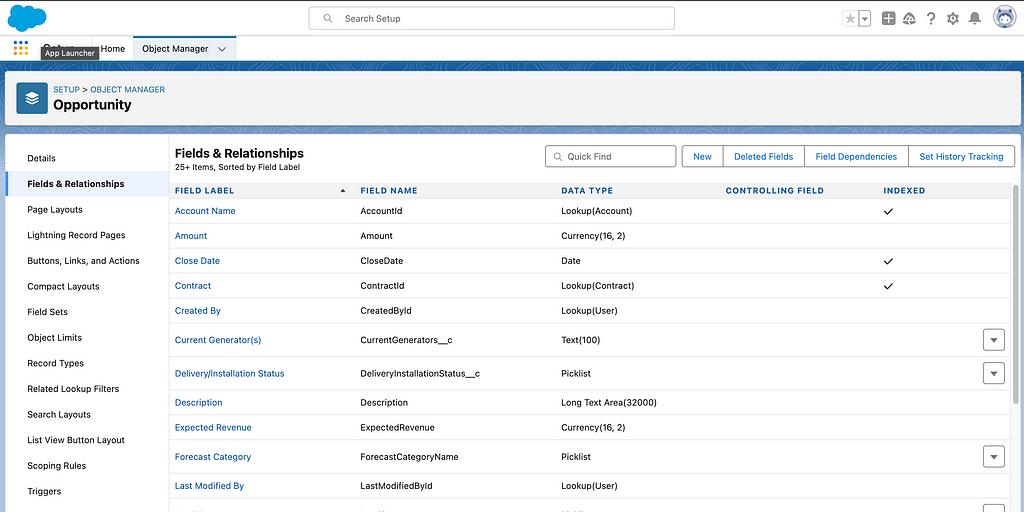
Enable History Tracking
Next, within the Object, select Field and Relationships and locate and click the “Set History Tracking” button on the top-right-hand corner of the screen.
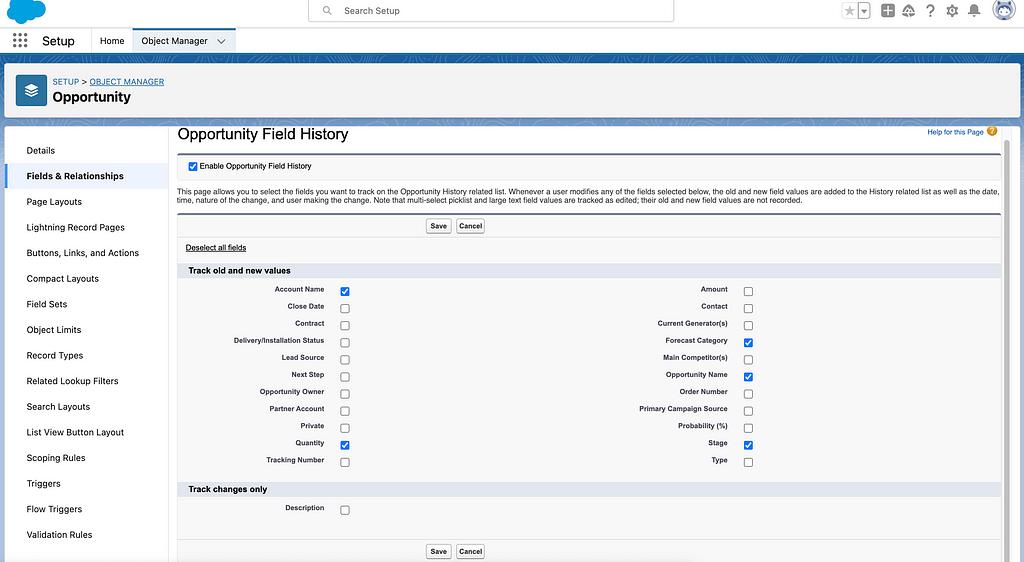
Choose What Fields To Track
Click the Enable Opportunity Field History checkbox and select the fields you want to track. Once ready, click on Save to apply.
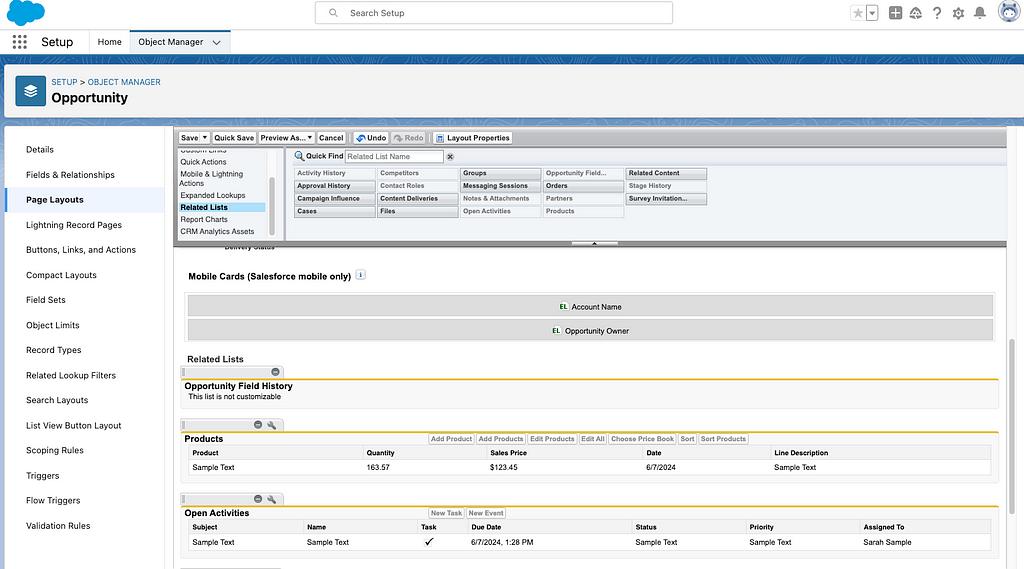
Enable Field History Within A Page Layout
Make sure your Object Field History is included within a Page Layout. If not, head over to Page Layouts within the Object Manager, add the related list, and click Save to proceed.
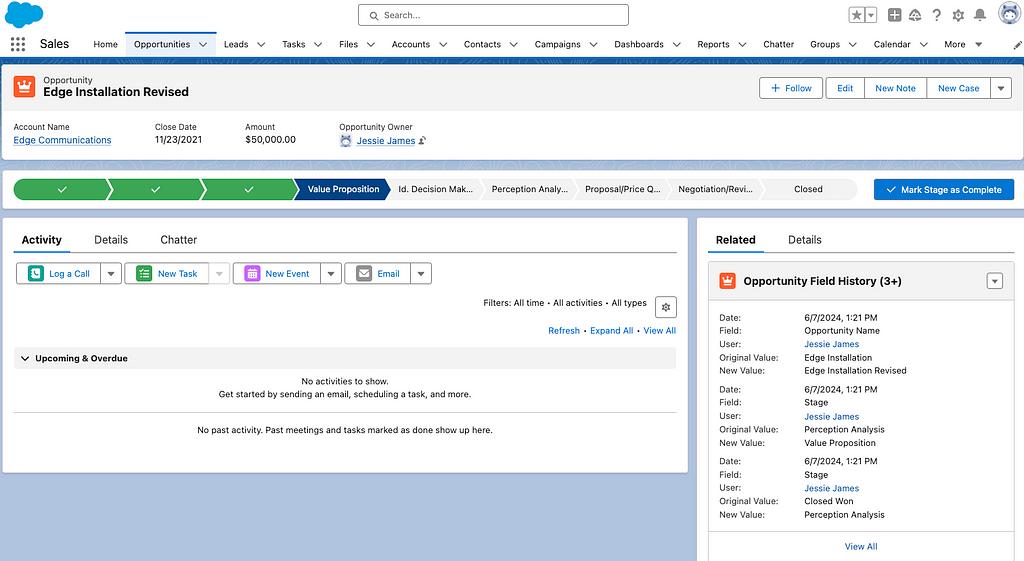
View Field History
To verify, head over to the Object’s record page and locate the Field History related list. From here, you can now view changes to the fields enabled on our previous step.
In the event you cannot see the changes within the field history make sure to check your user account has the necessary field-level permissions to view changes.
Pro Tip — Admins can help by checking and verifying within your org.
Ensure Data Tranperance and Evolution
By giving authorized users access to historical data the collaboration between peers improves, misunderstandings are reduced and trust continues to build within a company. Overall, field-level history promotes data quality with the ability to enable data-driven decision-making.
Until next time keep working hard, smart, and happy. And we’ll see you in the cloud!