Post
Salesforce “How To” ABCs: W
Posted on October 10, 2023 (Last modified on January 16, 2026) • 3 min read • 471 wordsHow to Whitelist (Allowlist) an IP address.
Getting your users access to your org is one of the most important parts of being an admin. After all, if they can’t log in, they can’t use the platform! And, as network security continues to improve, ensuring that your users and systems aren’t locked out by over-ambitious security protocols is more important than ever.
And that makes this the perfect time for another installment of our Salesforce “How to” ABCs! The series where we tackle the most commonly Googled Salesforce questions, letter by letter, to help Trailblazers find the answers they’re looking for fast!
Today’s letter is “W” as in, “How to Whitelist (Allowlist) and IP address”. Let’s dive in!
What is Whitelisting (Allowlisting)?
In the same way that only certain individuals are able to attend certain events (think invites to a wedding, or tickets to a concert), devices must also provide the necessary credentials to access select systems or networks.
Each device connected to the Internet has an IP address and, by using the IP address, a device can be added to a Whitelist (Allowlist) in order to be granted the necessary credentials and establish access to the necessary org. Consider these devices part of your “Guest List” where anyone matched is allowed to access a specific system or network.
Within Salesforce, Whitelisting (Allowlisting) is used in the same way and is essential when working with partners and clients in order to ensure the necessary employees from both sides have access to systems in a safe and secure manner.
How To Whitelist (Allowlist) In Salesforce
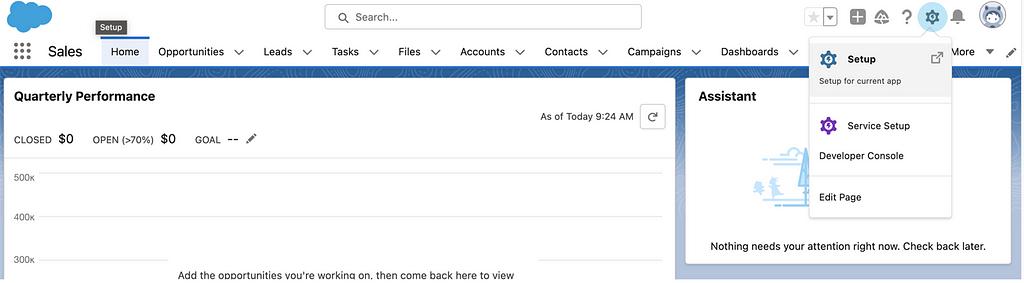
First up you head over to the Gear icon on your org’s homepage and select Setup from the dropdown.
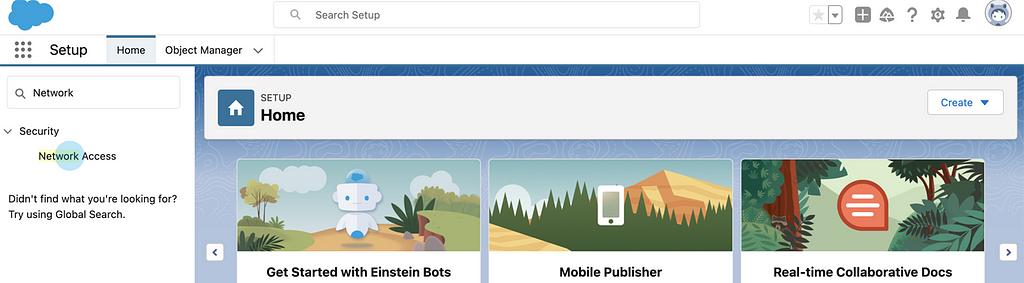
Within the Home tab search Network and click into Network Access result.
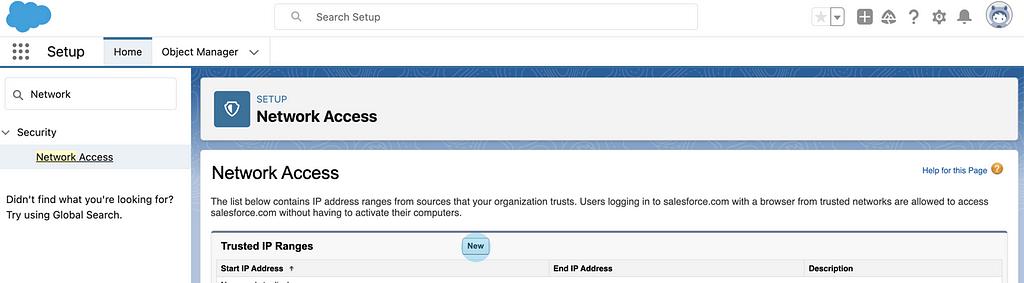
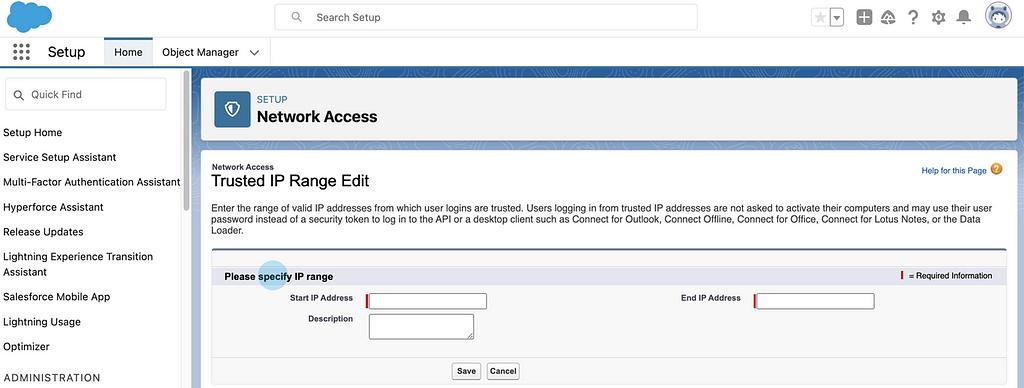
Once inside the Network Access window click on New to define a new IP range.
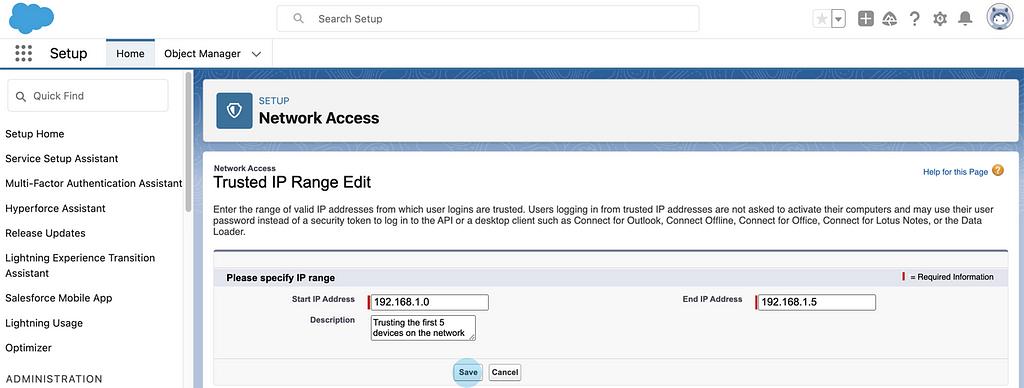
Set the start and end ranges along with a short description to remember 6 to 9 months down the road or when someone else needs to take over.
Once you are ready to proceed click on Save.
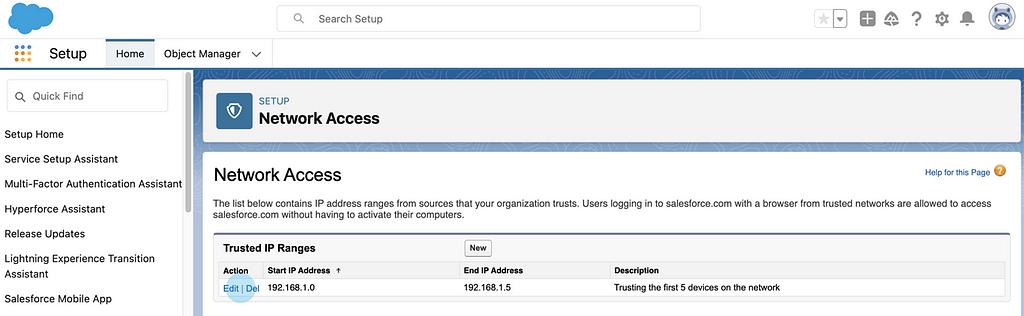
Now your Trusted IP addresses will be defined with the option to remove or modify at any time. At this point devices within the IP range will be granted access to the network or system.
You can also grant access to individual IPs by setting the start and end to the same.
And now you (and your users and systems) are all set!
Just like Whitelist and Blacklist (the opposite of Whitelist) are known terms within the cyber security industry new terminology is always rising to improve communication and understanding between individuals. That is why terms like “Allowlist” (Whitelist) and “Blocklist” (Blacklist) are terms one would encounter instead.
Thanks for stopping by and, until next time, keep working hard, smart, and happy. And we’ll see you in the cloud.